Assisted Dips
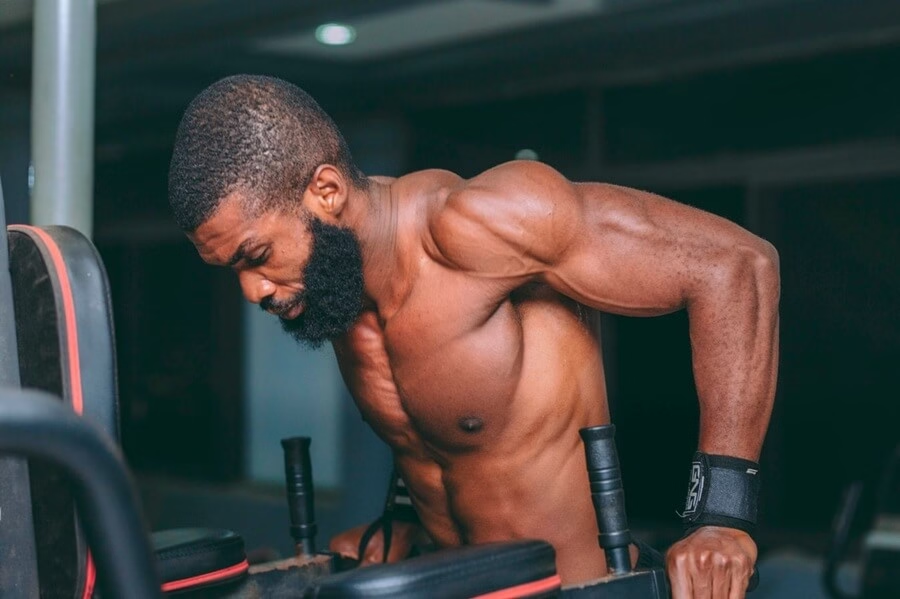
The assisted dip is a premier multi-joint pushing exercise designed to build power and definition across your upper body. By using a counterweighted gym machine, you can ease into the dips movement without having to lift your entire bodyweight.
The machine handles the bottom portion of your weight, allowing you to master clean movements, protect your joints and complete your set volume.
While the towering frame, heavy weight stacks and moving knee pads of an assistance machine can look intimidating to gym beginners, the equipment is very user-friendly.
Once you understand how the mechanics work, it becomes a staple tool for tracking your pressing power and progressing toward unassisted bar work.
Header image: Pexels
What Muscles Does the Assisted Dip Work?
Assisted dips primarily target your anterior pressing muscles, making them an excellent addition to any upper-body push routine:
- Pectoralis Major: Your chest muscles take on a massive amount of the load, particularly the lower fibres, as you press your body upward.
- Triceps Brachii: The muscles on the back of your arms work hard to extend your elbows at the top of every repetition.
- Anterior Deltoids: The front of your shoulders acts as a primary stabiliser to control your movement on the way down.
By adjusting your hand positioning on the machine handles, you can shift how the weight is distributed. Use a closer, narrow grip to place a heavy emphasis on your triceps. Move your hands into a wider position to force your chest to take over the majority of the lifting mechanics.
Benefits of the Assisted Dip
Integrating this machine into your strength routine offers unique structural advantages:
Accelerated Strength Progression: It acts as a bridge. By gradually lowering the machine’s counterweight week by week, you naturally force your muscles to carry more of your actual weight until you can conquer pure bodyweight dips using standard bars.
Safer Shoulder Mechanics: Traditional free dips can place immense stress on the rotators and shoulders if your form slips. The stabilisation provided by the machine platform helps you stay in a strict vertical plane, reducing the risk of joint strain.
Enhanced Muscle Hypertrophy: Because you can adjust the weight to fit your energy levels, you can easily perform high-repetition drop sets to push your chest and triceps without facing total muscle failure.
How the Counterweight System Works
The most important rule to remember on this machine is that adding more weight onto the stack makes the exercise easier. The plates you select act as a helping hand, pushing the platform upward against gravity.
To calculate your true training load, simply subtract the machine’s selected weight from your own body weight. If you weigh 80kg and set the pin to 30kg, your upper body is actively pressing 50kg.
Beginners should always start by selecting a heavy weight stack to test the movement safely, gradually moving the pin upward (making it lighter) as confidence grows.
Step-by-Step Machine Setup
Some assisted dip machines are designed so you can stand on the platform and others are intended to be used in a kneeling position.
The kind of machine you are using will be obvious from the distance between the platform and the bars. A small distance means you should place your knees on the platform. The majority of modern gym machines have a padded knee rest.
- Select your target counterweight on the side panel weight stack.
- Firmly grasp the parallel handles. If your machine features rotating grips, turn them to a width that allows your wrists to sit directly under your elbows.
- Place one knee securely in the center of the padded platform.
- Carefully bring your second leg onto the pad, letting the platform sink until your arms are fully extended. Hold your chest high, pack your shoulders down away from your ears and brace your core muscles tightly to maintain a neutral spine as you support your body weight with straight arms.
How to Perform the Assisted Dip
Every repetition consists of a smooth, balanced descent followed by an explosive driving phase:
1. The Controlled Descent
Inhale deeply as you lower your body down between the bars. Because the machine stabilises your lower body and eliminates swinging, focus entirely on keeping your elbows tucked backward at a 45-degree angle, rather than letting them flare completely out to the sides.
Continue your controlled downward path until your upper arms are parallel to the floor, with your elbows forming a clean 90-degree angle. Do not move lower than 90 degrees. Without the need to balance your torso, going too deep on a machine can put unnecessary pressure on the front of your shoulders.
2. The Driven Ascent
Exhale as you press down through the heels of your hands, forcing the machine pad down and driving your body upward. Keep your knees pressed firmly into the pad so it doesn’t wobble.
Ascend along the same vertical line until your arms are straight. Focus on squeezing your triceps at the peak of the movement, but avoid completely locking out your elbows.
Once your final rep is complete, carefully step one foot off the platform onto the solid metal side steps, allowing the knee pad to slowly rise completely back to its resting point before letting go of the handles.
Next Step: Once your upper-body strength develops and you can comfortably manage the movement with minimal machine assistance, test your baseline on our main Bodyweight Dips Exercise Guide to transition onto the free parallel bars.
Modify the Movement: If you want to continue building power using alternative gym equipment, explore our technical breakdown on how to execute Assisted Pull-Ups and Chin-Ups using the same counterweight frame.
Complementary Training: To accelerate your pushing development off the machine platform, read our masterclass on How to Bench Press with Perfect Technique to protect your chest and front shoulders.
💬 Join the Discussion!
We’d love to hear about your experience with the assisted dip station and how you use it to track your upper-body gains. Drop a comment below and share your thoughts:
- Machine variations: Does your gym use a standing platform or a kneeling pad setup for assisted dips? Which one feels more natural to your movement?
- Grip settings: Do you turn the handles inward for a tricep burnout or keep a wider chest-centric angle?
- Workout placement: Do you prefer using assisted dips as a heavy, main movement at the start of your routine, or as a high-repetition finisher to flush the muscles?