The Deadlift
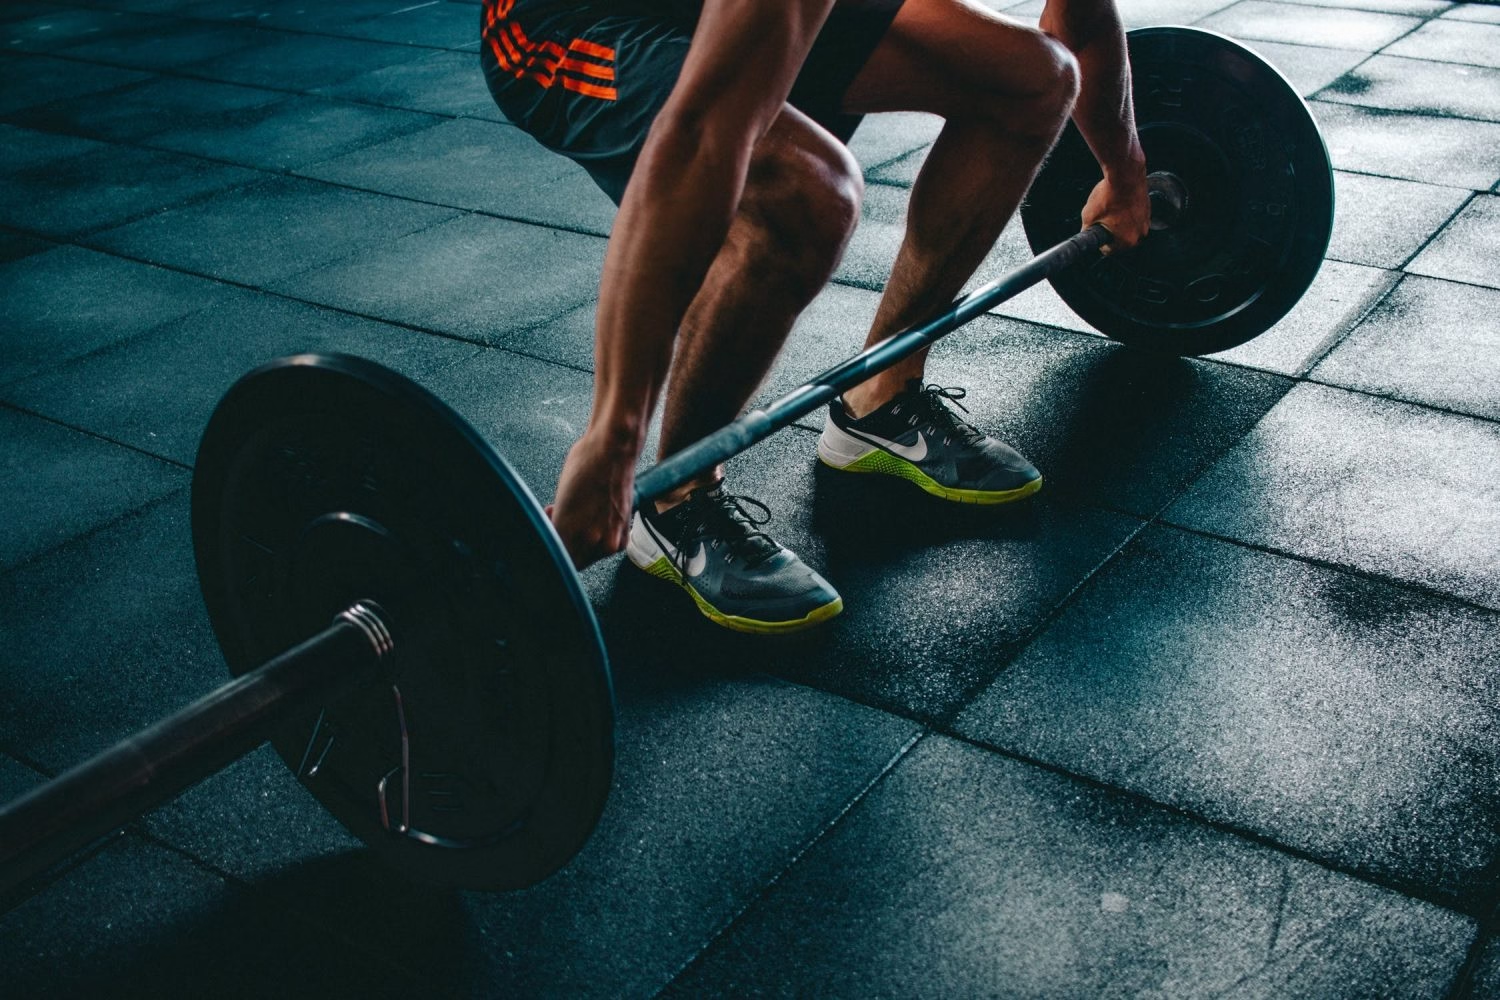
Welcome to the Ultimate Masterclass Guide to the Barbell Deadlift. Whether you are stepping up to a loaded barbell for the first time or you’re an experienced powerlifter, this guide is designed to serve as your definitive resource.
From historical origins and anatomy breakdowns to step-by-step technique and safety checklists, you’ll find the training data required to safely train this legendary lift. Secure your grip, brace your midline and let’s get started with this lower-body powerhouse.
Header image: Pexels.
What Is the Deadlift Exercise?
The deadlift is a foundational compound weightlifting exercise where a lifter pulls a loaded barbell off the floor to hip height, locking out the hips and knees with a rigid spine.
It serves as the benchmark of full-body power and is one of the three core disciplines used in competition powerlifting alongside the squat and the bench press.
As a compound exercise, the deadlift recruits multiple joints and muscle groups simultaneously. This heavy pull recruits more individual muscles than almost any other movement in the gym, making it the most efficient choice for athletes looking to build strength, muscle hypertrophy or functional endurance.
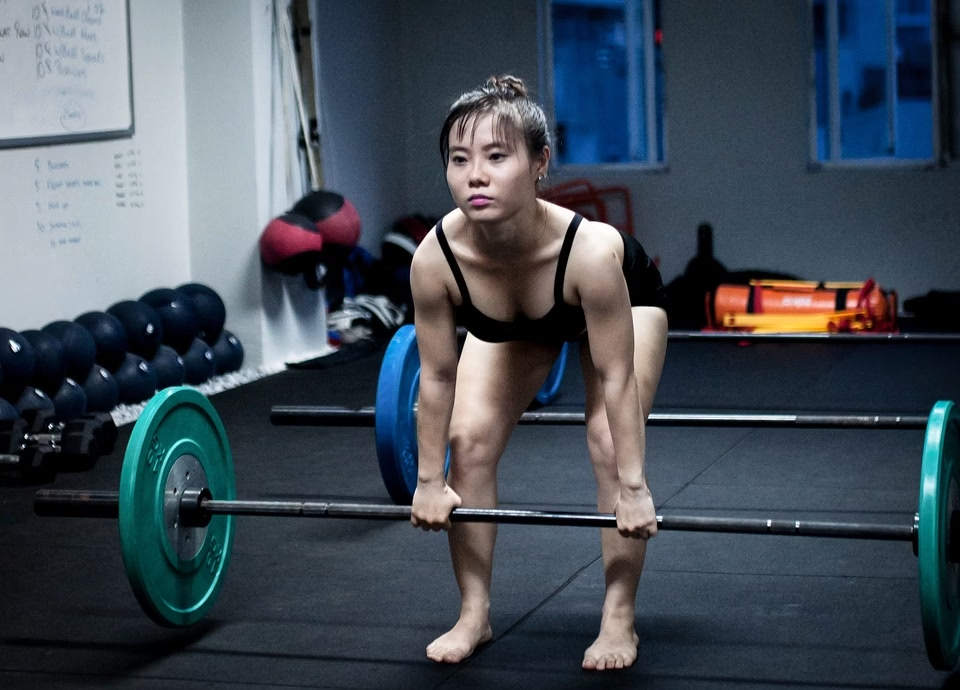
Image sourced via Pexels.
Which Muscles Does the Deadlift Work?
The deadlift primarily targets the posterior chain, which includes the lower back (erector spinae) and the lower body (quadriceps, hamstrings and gluteus maximus). It also heavily engages the core and forearms, boosting your structural grip strength.
Dozens of secondary muscle groups act as fixators to stabilise your torso during the lift. These stabiliser muscles include the upper back (trapezius and rhomboids), obliques, shoulders (deltoids) and neck.
While the deadlift doesn’t isolate the legs as deeply as a barbell back squat, it provides superior systemic muscle engagement.
Coaching Tip: If you want to isolate your hamstrings and glutes with less lower-back fatigue, consider substituting the standard deadlift with the Romanian Deadlift (RDL).
Benefits of Heavy Deadlifting
Incorporating heavy deadlifts into your strength routine offers many benefits. As a compound lift, it boosts your metabolism to increase overall strength while improving body composition and muscle tone.
Deadlifting requires maintaining a rigid back and a neutral spine, which translates into better core stability when moving heavy objects in daily life.
Because it requires moving a completely dead weight off the floor without the benefit of an rebound or preparatory lowering phase, it remains the truest test of pure strength.
The History of the Deadlift
The deadlift is one of the oldest recorded strength exercises in human history, originating as a primal test of physical capability.
In ancient times, athletes performed this movement using huge natural stones lifted to waist height. This historic tradition directly inspires the famous “Atlas Stones” discipline seen in modern Strongman competitions.
In modern weightlifting, the deadlift has evolved from a simple feat of survival into a highly structured tool for muscle development and athletic conditioning.
Today, it stands as the grand finale of competitive powerlifting meets, where the athlete who commands the highest cumulative total across all three lifts secures the victory.
Deadlift Setup: Grip and Stance
Before pulling a heavy barbell off the floor, you need to master your body positioning, foot stance and barbell grip.
Perfecting your setup dynamics drastically refines your overall deadlift technique, allows you to safely lift heavier weights, and safeguards your joints to minimise the risk of injury.
Deadlift Foot Positioning
Approach the barbell and establish a stable, flat footprint with your feet placed roughly hip-width apart (narrower than your standard squat stance).
Centre your feet under the bar so that the steel shaft cuts directly across the midpoint of your shoelaces when viewed from above.
Your weight should be balanced evenly across the heels and mid-foot, with your toes pointed straight ahead or flared outward by a small degree.
When you look down, your lower shins should sit roughly one inch away from the barbell. As you hinge down to grab the bar, your shins will slide forward slightly to make light contact with the steel without pushing the bar forward on the gym floor.
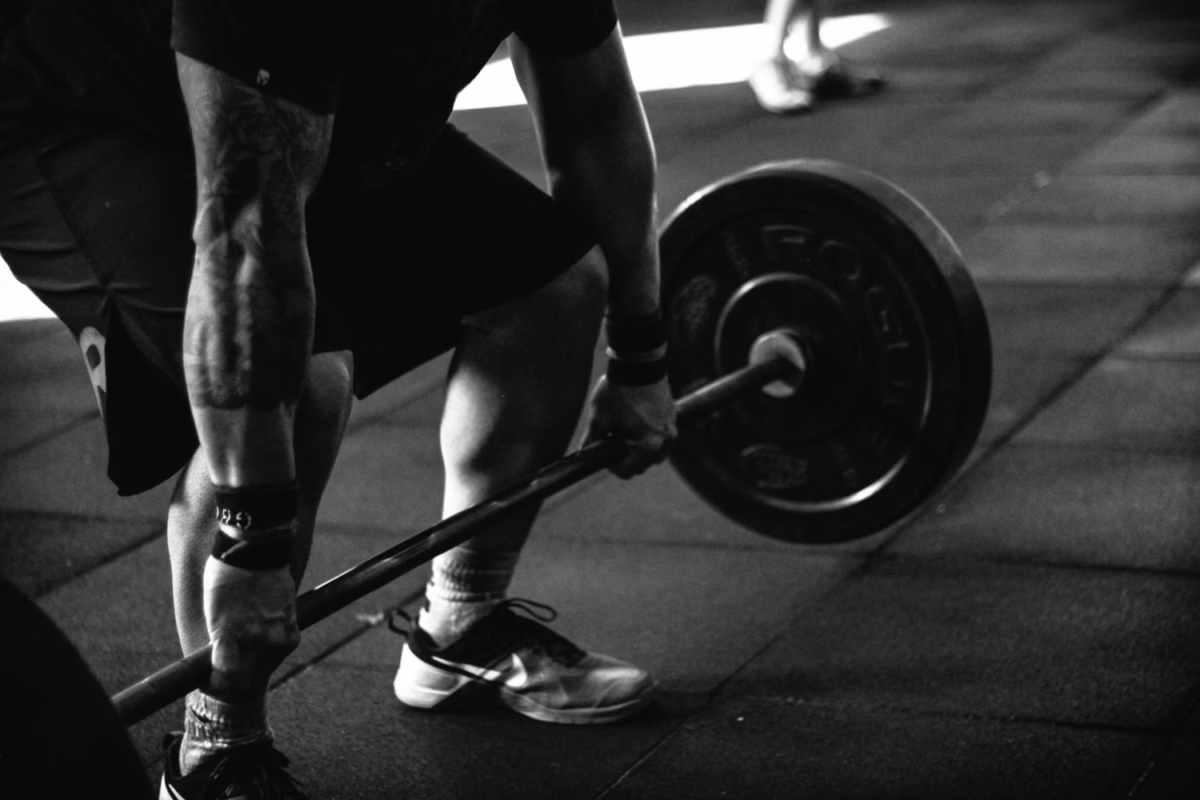
Image sourced via Pexels.
Establishing Your Starting Stance
Unlike a barbell squat, a conventional deadlift is a pure hip-hinge pattern, not a squatting movement. As you reach down to grab the bar, keep your hips high and your thighs well above parallel to the floor.
Dropping your hips into a parallel squat position pushes your shins forward, rolling the bar out of alignment and placing dangerous leverage on your lumbar spine.
Lock your arms completely straight, drive your chest out and pull your shoulders back and down. This intentional shoulder depression immediately engages your latissimus dorsi muscles, pinning the barbell tight against your body.
Throughout the entire movement, maintain a rigid, neutral spine by keeping your abdominals braced to build intra-abdominal pressure and protect the back.
The Three Essential Deadlift Grip Styles
Securing a white-knuckle hold on the bar is vital for delivering force from your lower body to the barbell. When anchoring your hands just outside your shins, choose from three primary mechanical variations:
1. Double Overhand Grip
The Baseline Option
The standard double overhand grip requires placing both palms facing inward toward your shins. While this grip style feels highly intuitive and builds great forearm strength, it offers the lowest friction capacity.
Under maximal loads, the barbell will naturally try to roll out of your fingers, making grip strength a major limiting factor as you progress to heavier weights.
2. The Mixed Grip
The Strength Standard
To prevent the bar from rolling out of your hands during maximal heavy pulling, most powerlifters switch to a mixed or alternating grip.
This variation involves placing your dominant hand in a pronated (overhand) position while your opposing hand takes a supinated (underhand) position with the palm facing away from your body.
By sandwiching the bar between hands pushing in opposite directions, you completely counteract the bar’s rotation.
Many lifters prefer using a standard overhand grip for lighter warm-up sets to build baseline forearm mass, then using the mixed grip exclusively for heavy working sets where total security is essential.
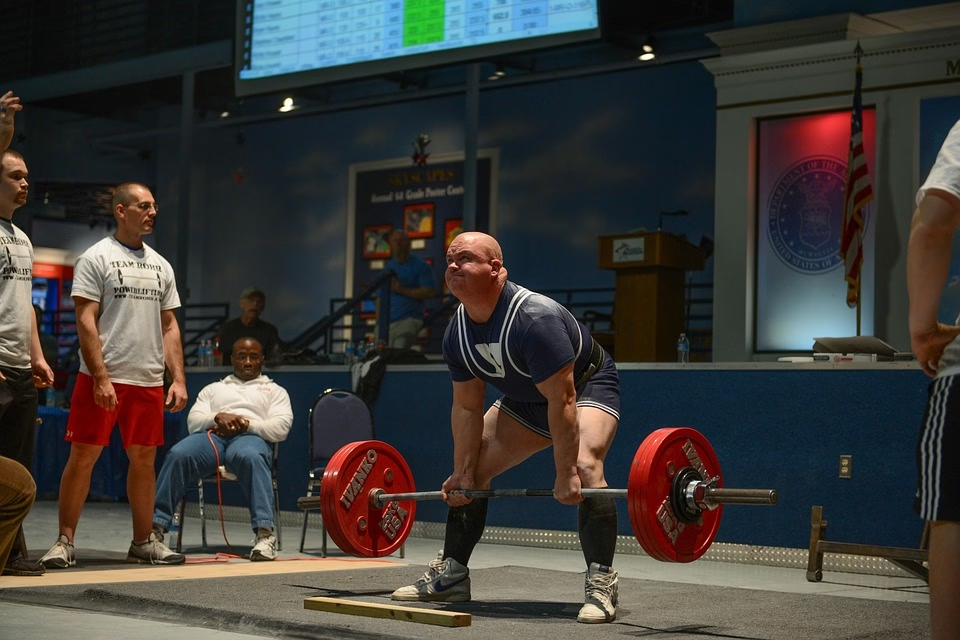
Deadlift Mixed Grip. Image sourced via Pixabay.
3. The Hook Grip
The Elite Alternative
The hook grip keeps both hands facing overhand but introduces more friction by trapping your thumbs directly between the steel barbell knurling and your first two fingers.
While this technique requires a distinct adaptation period due to thumb pressure, it provides the absolute security of a mixed grip without introducing structural asymmetries or twisting forces across the shoulders.
Safety Warning: Avoid the Double Underhand Grip
A double underhand grip (both palms facing forward) should never be deployed when performing a deadlift. Forcing both arms into full supination under heavy loads places a dangerous strain directly onto the distal biceps tendons.
Pulling heavy weight with an underhand orientation drastically increases your risk of suffering a bicep tear and creates an unstable lifting path.
Once you select your preferred grip, secure your hands just wider than shoulder-width apart so they sit immediately outside your knees. Brace your midline, load your hamstrings and prepare to lift.
Step-by-Step Deadlift Technique & Execution Guide
Good deadlift technique requires combining your stance and grip framework into one fluid, controlled vertical bar path. Moving the bar smoothly ensures you can comfortably lift maximum weight while reducing your risk of injury.
The deadlift is a total-body movement pattern, which means every joint must work in unison. Paying strict attention to your spinal bracing, breathing patterns, foot pressure and hip alignment creates a strong lifting foundation.
1. The Loading Phase & Bracing
Once your hands are anchored to the bar, brace your upper body. Rather than pulling your shoulder blades together, focus on packing your shoulders back and down (scapular depression) to lock your latissimus dorsi muscles into place.
This stance shortens the distance the bar needs to travel and pulls the initial “slack” out of the barbell before it leaves the floor.
Take a deep, diaphragmatic breath into your abdomen to build intense intra-abdominal pressure. Maintain a rigid, neutral spine. Do not allow your lower back to round or your chest to collapse forward.
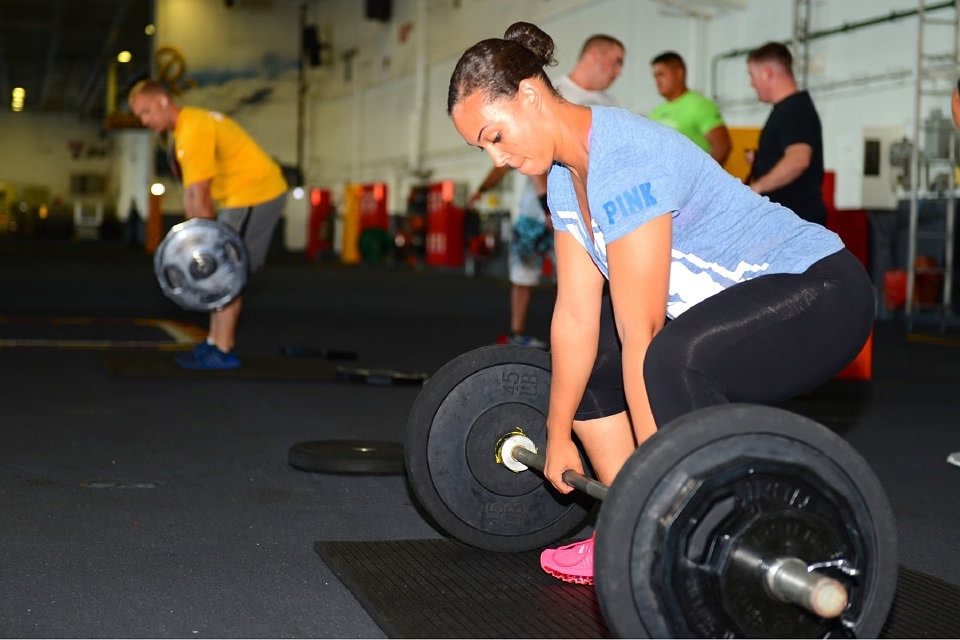
Image sourced via Pixabay.
2. The Upward Drive (The Concentric Pull)
Initiate the lift by pushing your feet strongly into the ground, driving through your mid-foot and heels rather than pulling with your arms.
Your arms should remain completely straight like steel cables. Keeping tension your triceps protects your biceps tendons from strain.
Keep the barbell as close as possible to your shins throughout the vertical path. As the bar clears your knees, drive your hips forward forcefully by squeezing your glutes to bring your body into a fully erect posture.
3. The Lockout Mechanics
The deadlift rep officially concludes when your legs are completely straight and your hips are locked forward in a natural standing alignment. Squeeze your glutes hard at the peak contraction to take pressure off your lower spine.
Avoid rolling your shoulders backward or over-extending your spine at the top, as this creates harmful compression forces on your vertebrae.
Ensure your toes remain planted flat on the gym floor for total stability.
Coaching Tip: If you want to isolate your hamstrings and glutes with less lower-back fatigue, consider substituting this floor pull with the Romanian Deadlift (RDL).
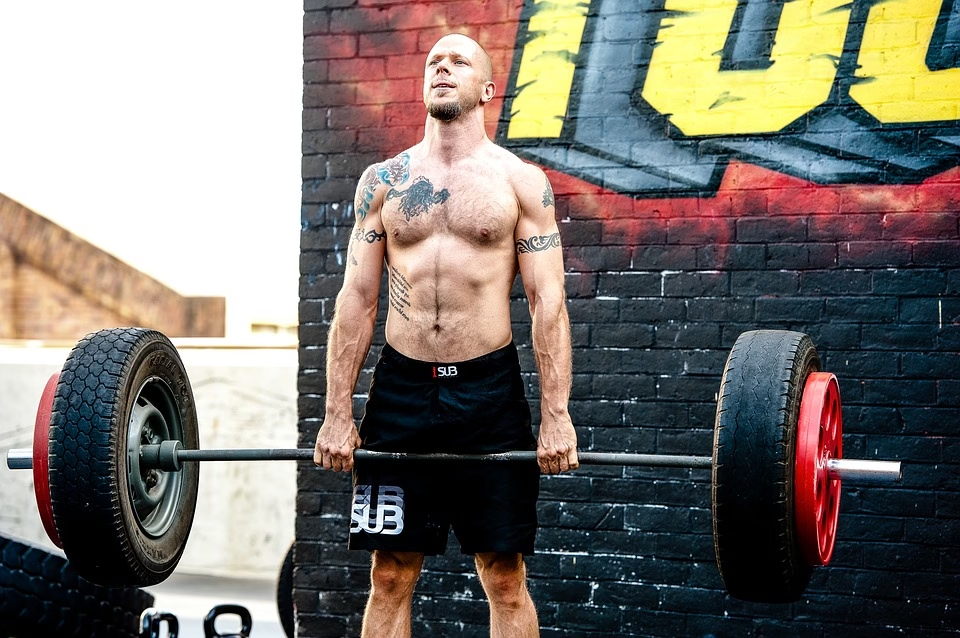
Image sourced via Pixabay.
4. Lowering the Weight (The Eccentric Phase)
To lower the bar safely, reverse the movement using a strict hip-hinge pattern. Push your hips straight back with a rigid spine, allowing the bar to slide vertically down your thighs.
Keep your knees mostly straight until the bar passes below your knees. Once past this point, you can bend your knees to settle the plates back onto the floor.
Never relax your core or let your spine slouch during the descent. Keep ankles, knees and hips perfectly aligned throughout.
Common Deadlift Form Errors
Ironing out technical faults is important for building good lifting form and breaking strength plateaus. Watch out for these four frequent deadlift errors:
- Lifting Too Heavy, Too Soon: Ego lifting forces you to sacrifice your setup mechanics to move the weight. Start light, master the technique path and scale up slowly.
- Lifting with a Rounded Spine (“Cat Back”): Rounding the lower back under load places dangerous shear stress onto your lumbar spine. Keep your core engaged and braced from start to finish.
- Hyperextending the Top Lockout: Leaning your torso backward at the top of the lift adds no value and can strain the lower spine. Don’t try to lift “higher” by pulling your shoulders back. Finish standing straight with hips locked.
- Squatting the Starting Position: Dropping your hips too low pushes your shins forward, which pushes the barbell out of alignment. Keep your hips high and your shoulder blades positioned directly over the bar.
Deadlift Safety & Injury Prevention
Deadlift safety is a central pillar of long-term strength development. Moving heavy loads off the floor demands a disciplined approach, as a single technique error can lead to joint strain or lower back injuries.
Mastering your structural alignment, optimising your bracing and respecting your body’s limits will enable you to perform an effective and safe deadlift. Minimising your risk of strains requires a proactive approach to protecting your most vulnerable joints. Let’s assess the main risks and how to mitigate them:
Primary Risks Associated with the Deadlift
Before loading the barbell for a deadlift, you need guard against three primary injury risks that occur during a technical breakdown:
- Lumbar Flexion (Spinal Rounding): Pulling a heavy load with a bent or rounded back places extreme, uneven stress on the vertebrae and lumbar discs. The spine must maintain in a rigid, neutral position throughout the range of motion to safely distribute forces across the skeleton.
- Distal Bicep Tendon Tears: This injury occurs almost exclusively when a lifter attempts to “jerk” or pull the bar with bent arms, usually while using a mixed hand grip. If your elbows flex even slightly under a heavy load, the bicep muscle is forced to absorb massive axial force, which can trigger tears.
- Grip Failure & Bar Slips: Attempting to lift an excessive load that goes beyond your forearm capacity can cause the barbell to slide out of your hands mid-rep. This sudden drop destabilises your posture and subjects your joints to abrupt, jolting shifts in momentum.
Essential Deadlift Safety Precautions
To maximise the weight you can lift and protect your body, integrate these mandatory safety protocols into every working set:
- Brace Your Abdominals: Treat your core as an internal shield. Keep your abdominal muscles forcefully tight at all times to maximise intra-abdominal pressure. This internal stabilisation supports the spine naturally and reinforces the deep muscles of the lower back (erector spinae).
- Contract the Triceps: To safeguard your arms against injury, lock your elbow joints straight before the bar leaves the floor. Flex your triceps to keep your arms like rigid steel cables, keeping the biceps isolated from the load.
- Synchronise Hips and Shoulders: Your leg drive should take the bulk of the initial load off the floor. Don’t allow your hips to shoot up faster than your shoulders, as this premature leg straightening turns your torso parallel to the ground, placing strong forces onto your lower back.
- Use a Lifting Belt Strategically: Using a specialised lifting belt is an ideal performance tool for heavy sets exceeding 75% to 80% of your maximum lifting capacity. Bracing your abdominals outward against a rigid belt improves spinal stability, helping you maintain good lumbar control without sudden jerks.
Coaching Tip: For lifters handling maximal weights where grip strength has become the primary limiting factor, using weightlifting straps can serve as an excellent help. Straps increase your friction capacity, ensuring the barbell cannot slip out of your hands while you safely push your muscles to failure.
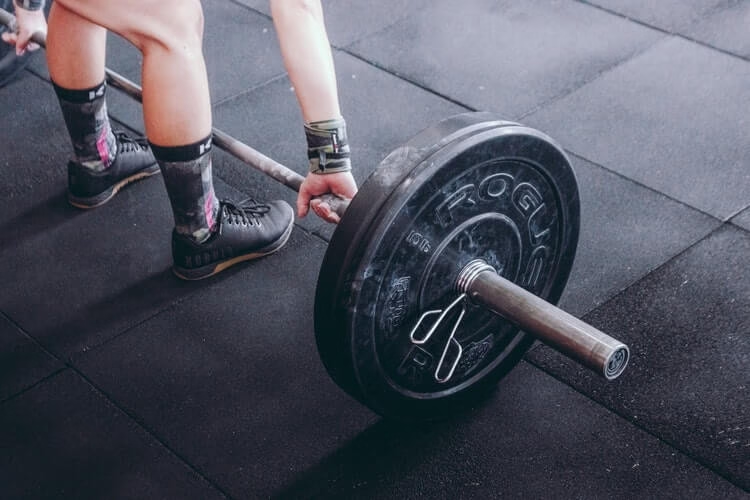
Image sourced via Pixabay.
Deadlift Variations
The variation of deadlift you choose will depend on your specific training goals and overall level of experience. Although the conventional deadlift is the universal standard technique, many specialised versions exist to target unique muscle groups, build strength through specific sticking points or reduce stress on your joints.
Before stepping up to the barbell, you need to decide which type of deadlift aligns with your goals, as the required stance, hand grip and overall vertical bar path will alter between each variation.
The 5 Primary Types of Deadlifts
The pulling framework you choose depends on your training objectives. In formal powerlifting meets, the only legal techniques permitted on the platform are the conventional stance and the sumo stance.
Outside of a competitive environment, incorporating a diverse range of deadlift variations is a great way to keep your training fresh, maximise muscle hypertrophy and challenge your neuromuscular limits.
When using these variations within your weekly routine, maintaining total core engagement and rigid spinal alignment is mandatory to protect your lower back from injury. Below is a detailed breakdown of the five most common deadlift styles:
1. The Conventional Deadlift
The conventional deadlift is the standard pull. The feet are positioned in a hip-width stance with your hands anchoring the bar immediately outside the shins. This traditional alignment places heavy mechanical loading across your entire posterior chain (the entire network of muscles running along the back of your body), specifically driving development in the glutes, hamstrings and erector spinae muscles.
2. The Sumo Deadlift
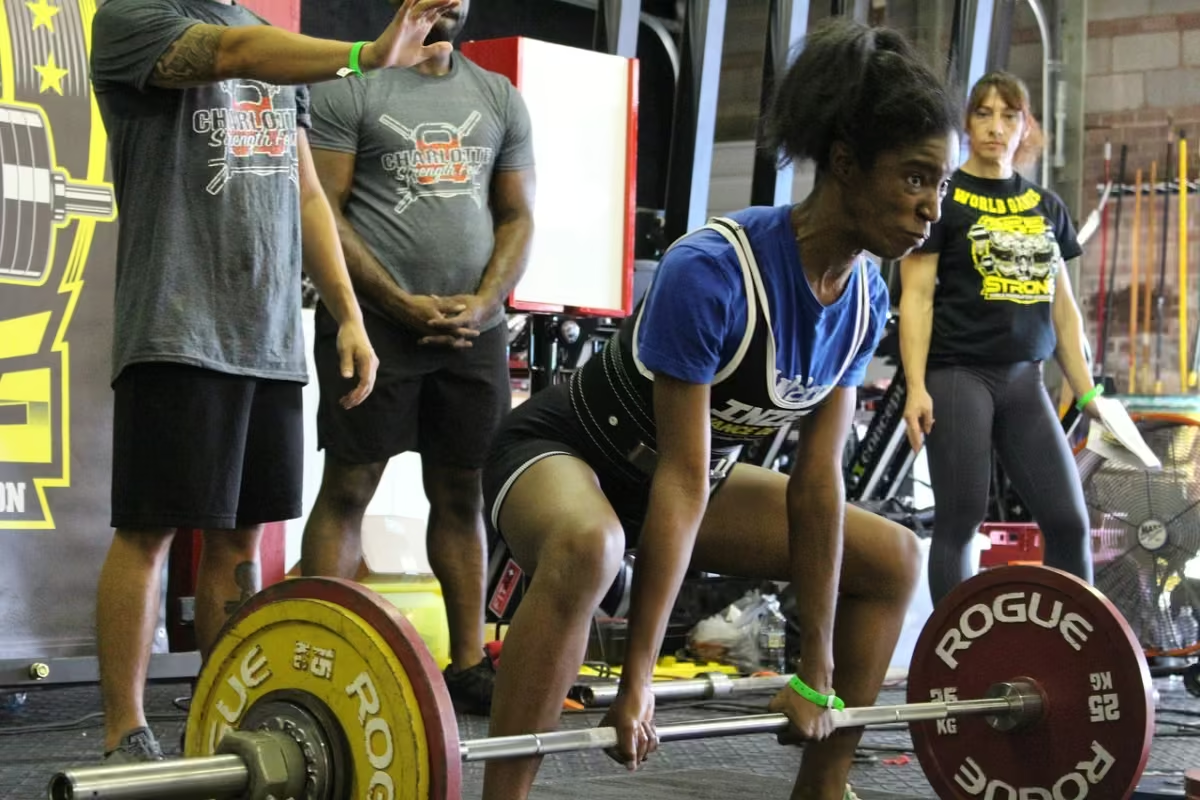
The sumo deadlift uses an ultra-wide stance where the feet are placed out near the weight plates and the hands grip the barbell inside the knees. This wide posture shortens the distance the bar needs to travel, shifting the emphasis forward onto the quads and inner thighs (adductors) while reducing axial pressure on the lower spine.
This variation allows for a very upright torso, so it’s often favoured by lifters with long torsos or limited ankle mobility, though it does demand good hip external rotation and groin flexibility.
Sumo Deadlift Stance. Image sourced via Pixabay.
3. The Trap Bar Deadlift (Hex Bar)
The trap bar deadlift is executed using a special hexagonal frame that allows you to step directly inside the centre of gravity and use a neutral grip (palms facing inward).
This alignment encourages an upright posture and allows the knees to track forward, combining elements of both a barbell back squat and a traditional deadlift. It is a popular option for athletes looking to mitigate the risks of lower back strain.
4. The Romanian Deadlift (RDL)
The Romanian deadlift is a great lower-body accessory lift that begins from a standing position rather than the floor. The weight is lowered under close control only to mid-shin height by pushing the hips straight back in a hip-hinge movement, while keeping the knees locked in a soft, slightly bent angle.
This variation places eccentric tension directly on the glutes and hamstrings, making it a good choice for targeted muscle growth along the back of your legs.
5. The Stiff-Leg Deadlift (SLDL)
The stiff-leg deadlift is an advanced variation that resembles the conventional deadlift but is pulled off the floor with straighter knees.
By keeping the hips high and minimising knee flexion throughout, you remove the quadriceps from the movement. This forces the hamstrings to take weight off the floor from a fully lengthened position, placing high demands on your lower back resilience and posterior chain (lower back, glutes and hamstrings).
Pick Your Progression
Protect Your Back: If you want a deadlift variation that heavily targets the hamstrings and glutes with zero floor setups, discover the top-down mechanics in our Romanian Deadlift (RDL) Guide.
Test Your Strength: To calculate your exact physical limits safely without actually risking injury under a maximal load, use our step-by-step guide to Find Your 1-Rep Max.
Check Your Ego: If your form breaks down during heavy pulls or your lower back takes over the movement, read our diagnostic checklist to find out: Are You Lifting Too Heavy?
💬 Share Your Thoughts
We want to hear about your training style! Drop a comment below and share your thoughts with the community:
- Are you team conventional or sumo? What made you choose your preferred deadlift stance?
- What is your current all-time deadlift personal record (PR) and what programme or technique helped you break through your last plateau?
- How do you handle your grip on heavy working sets? Do you tend to rely on a mixed grip, hook grip or lifting straps?
- Do you prefer pulling your deadlifts completely barefoot, in socks or flat shoes, or do you stick to standard gym trainers?

Leave a Reply